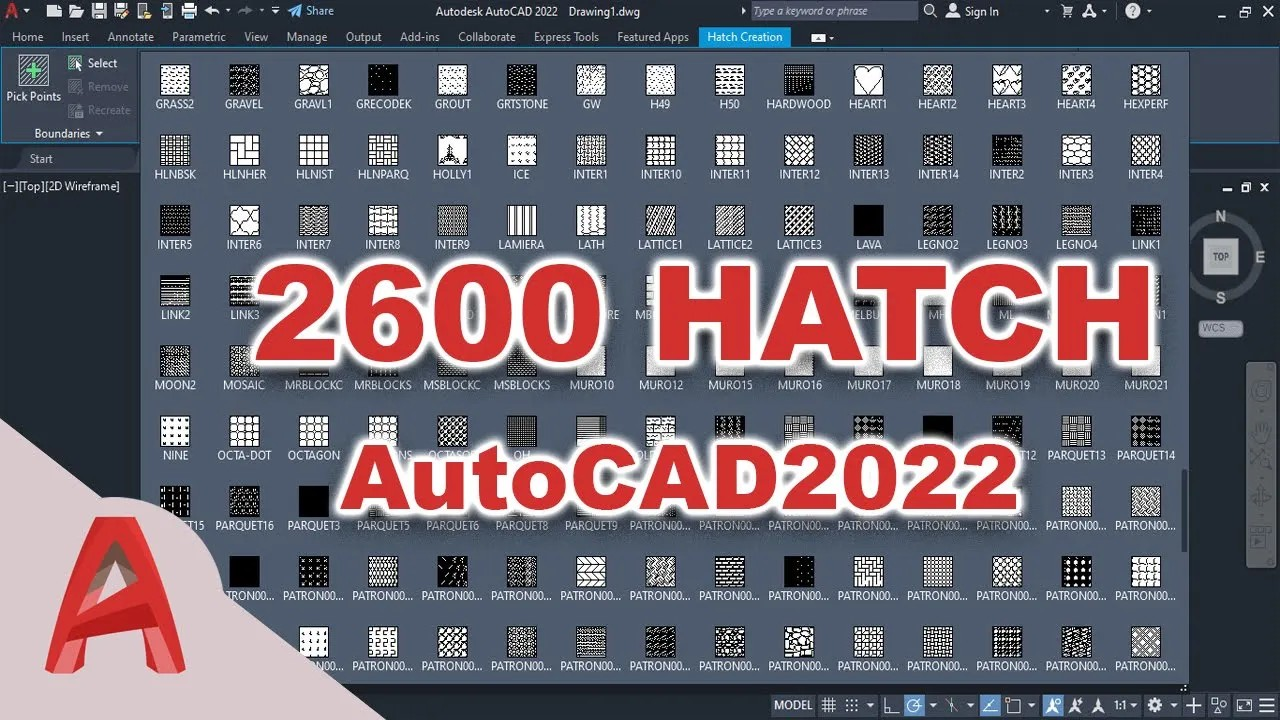
To create a custom hatch pattern in Auto CAD, you can use the hatch code to make the pattern. Once you have created the hatch pattern, you can use it in your drawing by following these steps:
1. Get the complete hatch pattern.
2. Use and transfer the hatch pattern.
Here is a detailed guide on how to create and use custom hatch patterns in Auto CAD
1. Open Auto CAD programs and click menu create a new drawing.
2. Type HATCH in the command line and press Enter.
3. In the “Hatch and Gradient” dialog box, select “Custom” from the “Type” selection list.
4. Click on the three dots symbol next to “Custom Pattern” field.
5. The “Hatch Pattern Palette” windows dialog box will appear. Select the specific PAT-file from the left frame and the specific hatch pattern from the right frame.
6. Click OK.
To install custom hatch patterns in Auto CAD, you can use PAT files .
Here are the steps to install custom hatch patterns:
1.Transfer the PAT File:
Transfer the PAT file to a directory where Auto CAD can access it. A common location is the Support folder within the Auto CAD installation directory.
2.Load the Hatch Pattern:
In Auto CAD, go to the "Options" dialog box by typing OPTIONS in the command line.
3.Files Tab:
Navigate to the "Files" tab, and under the "Support File Search Path," add the path to the directory where you saved your PAT file.
4.Apply Changes:
Click "Apply" and then "OK" to close the Options dialog.
5.Hatch Command:
Use the HATCH command to open the "Hatch and Gradient" dialog.
6.Pattern List:
In the "Pattern" panel, click the drop-down arrow and look for your custom hatch pattern in the list.
7.Select and Apply:
Select your pattern, adjust settings as needed, and click "Add Selected" to include it in the list of patterns to be used.
Your custom hatch pattern should now be available for use in your Auto CAD drawings. Remember to check the documentation for any Auto CAD version-specific instructions, as the process may vary slightly.


0 Comments